Written By: Wil Roe
It’s spooky season and what better way to get it started than taking everyone’s favorite gourd and turning it into everyone’s favorite smoking device? Thats right folks to celebrate another happy Halloween we are going to show you how to make a pumpkin bong!
Pumpkin Bong Materials
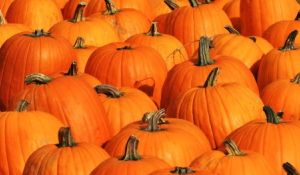 First things first you’ll need to head down to your local supermarket or pumpkin patch and pick out your pumpkin. When selecting a pumpkin for such an important job we found the most important thing would be height over roundness. Once you’ve selected your new best friend, you’re going to want to grab yourself one of those nostalgic, cool, and sturdy pumpkin carving kits from the store. (Pictured Right)
After you’ve picked out your pumpkin and got your nifty carving kit next things, you’ll need are your smoking essentials needed to complete this job. You can find most of these things at your local Nectar, the first thing we recommend would of course be cannabis! After that, a down stem, and bowl are crucial to a good bong. Once you’ve got a down stem and bowl picked out you will need some sort of mouthpiece for your pumpkin bong. Now here is where you can be creative. You can literally use anything from a straw to an old broken bong shaft. (which we do not recommend)
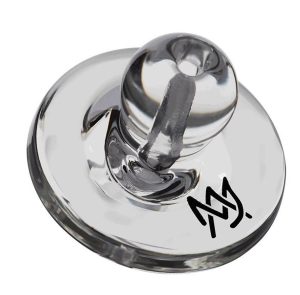
What we do recommend is you pick up a Moose Labs Mouth Piece! These things are fantastic for your lungs and come in more colors than a rainbow! Finally, you’ll want the magic of the Nectar Grinder and Nectar Bic Lighter alongside our other accessories to really get the season started off right!
 Pumpkin Dab Rig
If you want to take your pumpkin bong to the next level, you can turn it into a dab rig with just a few different items that coincidentally can also be found at Nectar Markets. So, if you’ve chosen this route continue reading, if you’re set on pumpkin bong move along to the next section.
Now that it’s just the dab heads, let’s go over what we need to elevate this pumpkin to the next level. The first thing you’ll need is some terpy concentrates we recommend The Refinery from Nectar Markets made in collaboration with Higher Cultures. Once you’ve got your dabs, you’re almost there the next thing you will need is a quartz banger or terp slurper if that’s your cup of tea, now that you’ve got your banger it will need a hat and we couldn’t recommend the MJ Arsenal Flat Carb Cap it gives great flow for a great price!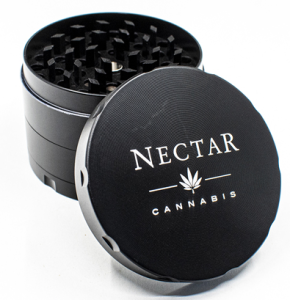
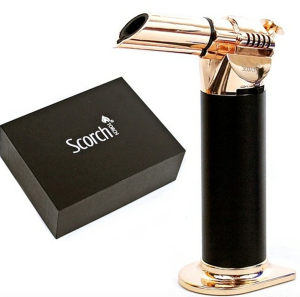
Now that we’ve got that covered it’s time to move on to the combustion portion of this dab rig set-up with this a simple Bic lighter will not do. You will need a torch! Last but not least you are going to need your trusty dabber to get those beautiful terpy extracts right in the sweet spot of that banger and now that you’ve got everything you need to turn your Pumpkin into a dab rig let us get started on the construction. It is pretty much the same thing you’ll just need to switch out parts like Mr. Pumpkinhead Man.
Pumpkin Bong Construction
Now we’re at the carve-up stage of the pumpkin bong! Let’s start with the two holes you’ll need on either side of your pumpkin. You can see it illustrated in the picture above but before you make any cuts make sure you mark your holes with a marker. You’ll want the hole your down stem will go into to be at about a 45-degree angle and each hole should be about a nickel in diameter as a good seal is really important.
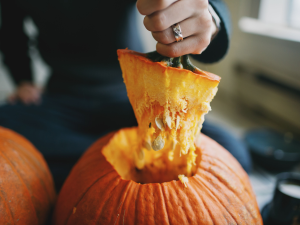
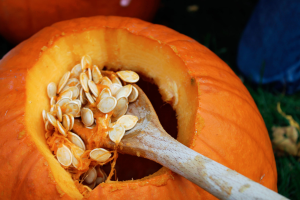
Once you’ve made the holes for your down stem and Moose Labs Mouth Piece you can move on to hollowing out your pumpkin bong. We’ve all done this before the only advice we’d give is to make your top hole as small as you can while still being able to pull out all that ooey-gooey goodness. 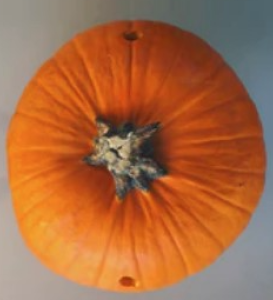
PRO TIP: Roast the Pumpkin Seeds in the oven with the seasonings of your choice for a tasty treat.
Again, mark your lines with a marker and make your cuts carefully we don’t need any blood in the pumpkin bong. Then take out your handy dandy scooper tool from your trusty pumpkin carving kit and get to scooping out all that goodness! Once the pumpkin is all cleared out you can move on to the final and easiest step outside of smoking your pumpkin bong – ASSEMBLY!
After collecting all the appropriate equipment, cutting holes, and emptying the pumpkin we are finally at the stage where we can put it all together. Now, remember the side you cut the down stem hole on and place your down stem and bowl down inside that hole or if you’re doing the dab rig this is where you’d place your banger, and on the opposite side place your Moose Labs Mouth Piece.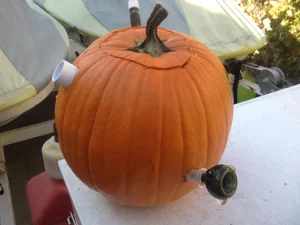
Once you’ve got those two things in place it’s time to rip a fat bowl from your pumpkin bong or drop a hot dab whatever your heart desires in your pumpkin rig. You deserve it, you’ve worked hard now it’s time to reap the rewards once you’re all done reaping those rewards maybe those pumpkin seeds in the oven will be ready for a tasty Halloween snack.